ESPHome CO2 Sensor
Monitoring air quality
I have always suffered with hay fever (or, to use the proper name, allergic rhinitis). As such, I have a number of air purifiers spread out throughout to use, to help and try minimise the amount of dust floating in the air.
Two of those are Ikea Starkvind smart purifiers, which adapt the fan speed based on the amount of particulates it detects in the air. Since it is Zigbee, it integrates with Home Assistant and gives me a sensor for PM2.5, which is a measurement of fine particulate matter, specifically of the kind that is recognised as being a threat to human health.
Enter the CO2 sensor
What I did not have was a CO2 sensor. CO2 can usually be a good indicator of indoor air quality. I live in a fairly cold country, and our home is a fairly air-tight new build, with the aim of reducing heat loss and avoiding wasting energy. As such, for a good part of the year we tend to keep our windows mostly closed. CO2 can have an impact on your health, so it is not a bad thing to keep an eye on.
| CO2 Concentration | Description |
|---|---|
| ~400ppm | Normal background concentration in outdoor ambient air |
| 500-1,000ppm | Concentrations typical of occupied indoor spaces with good air exchange |
| 1,000-2,000ppm | Complaints of drowsiness and poor air. |
| 2,000-5,000 ppm | Headaches, sleepiness and stagnant, stale, stuffy air. Poor concentration, loss of attention, increased heart rate and slight nausea may also be present. |
An accessible, budget option
I didn’t want to spend a lot of money on device just for this purpose. A Sensirion SD40, one of the most popular sensors for CO2, costs between 15 and 25€ - this is just the sensor, you then have to connect it to a device, such as an ESP32, by soldering.
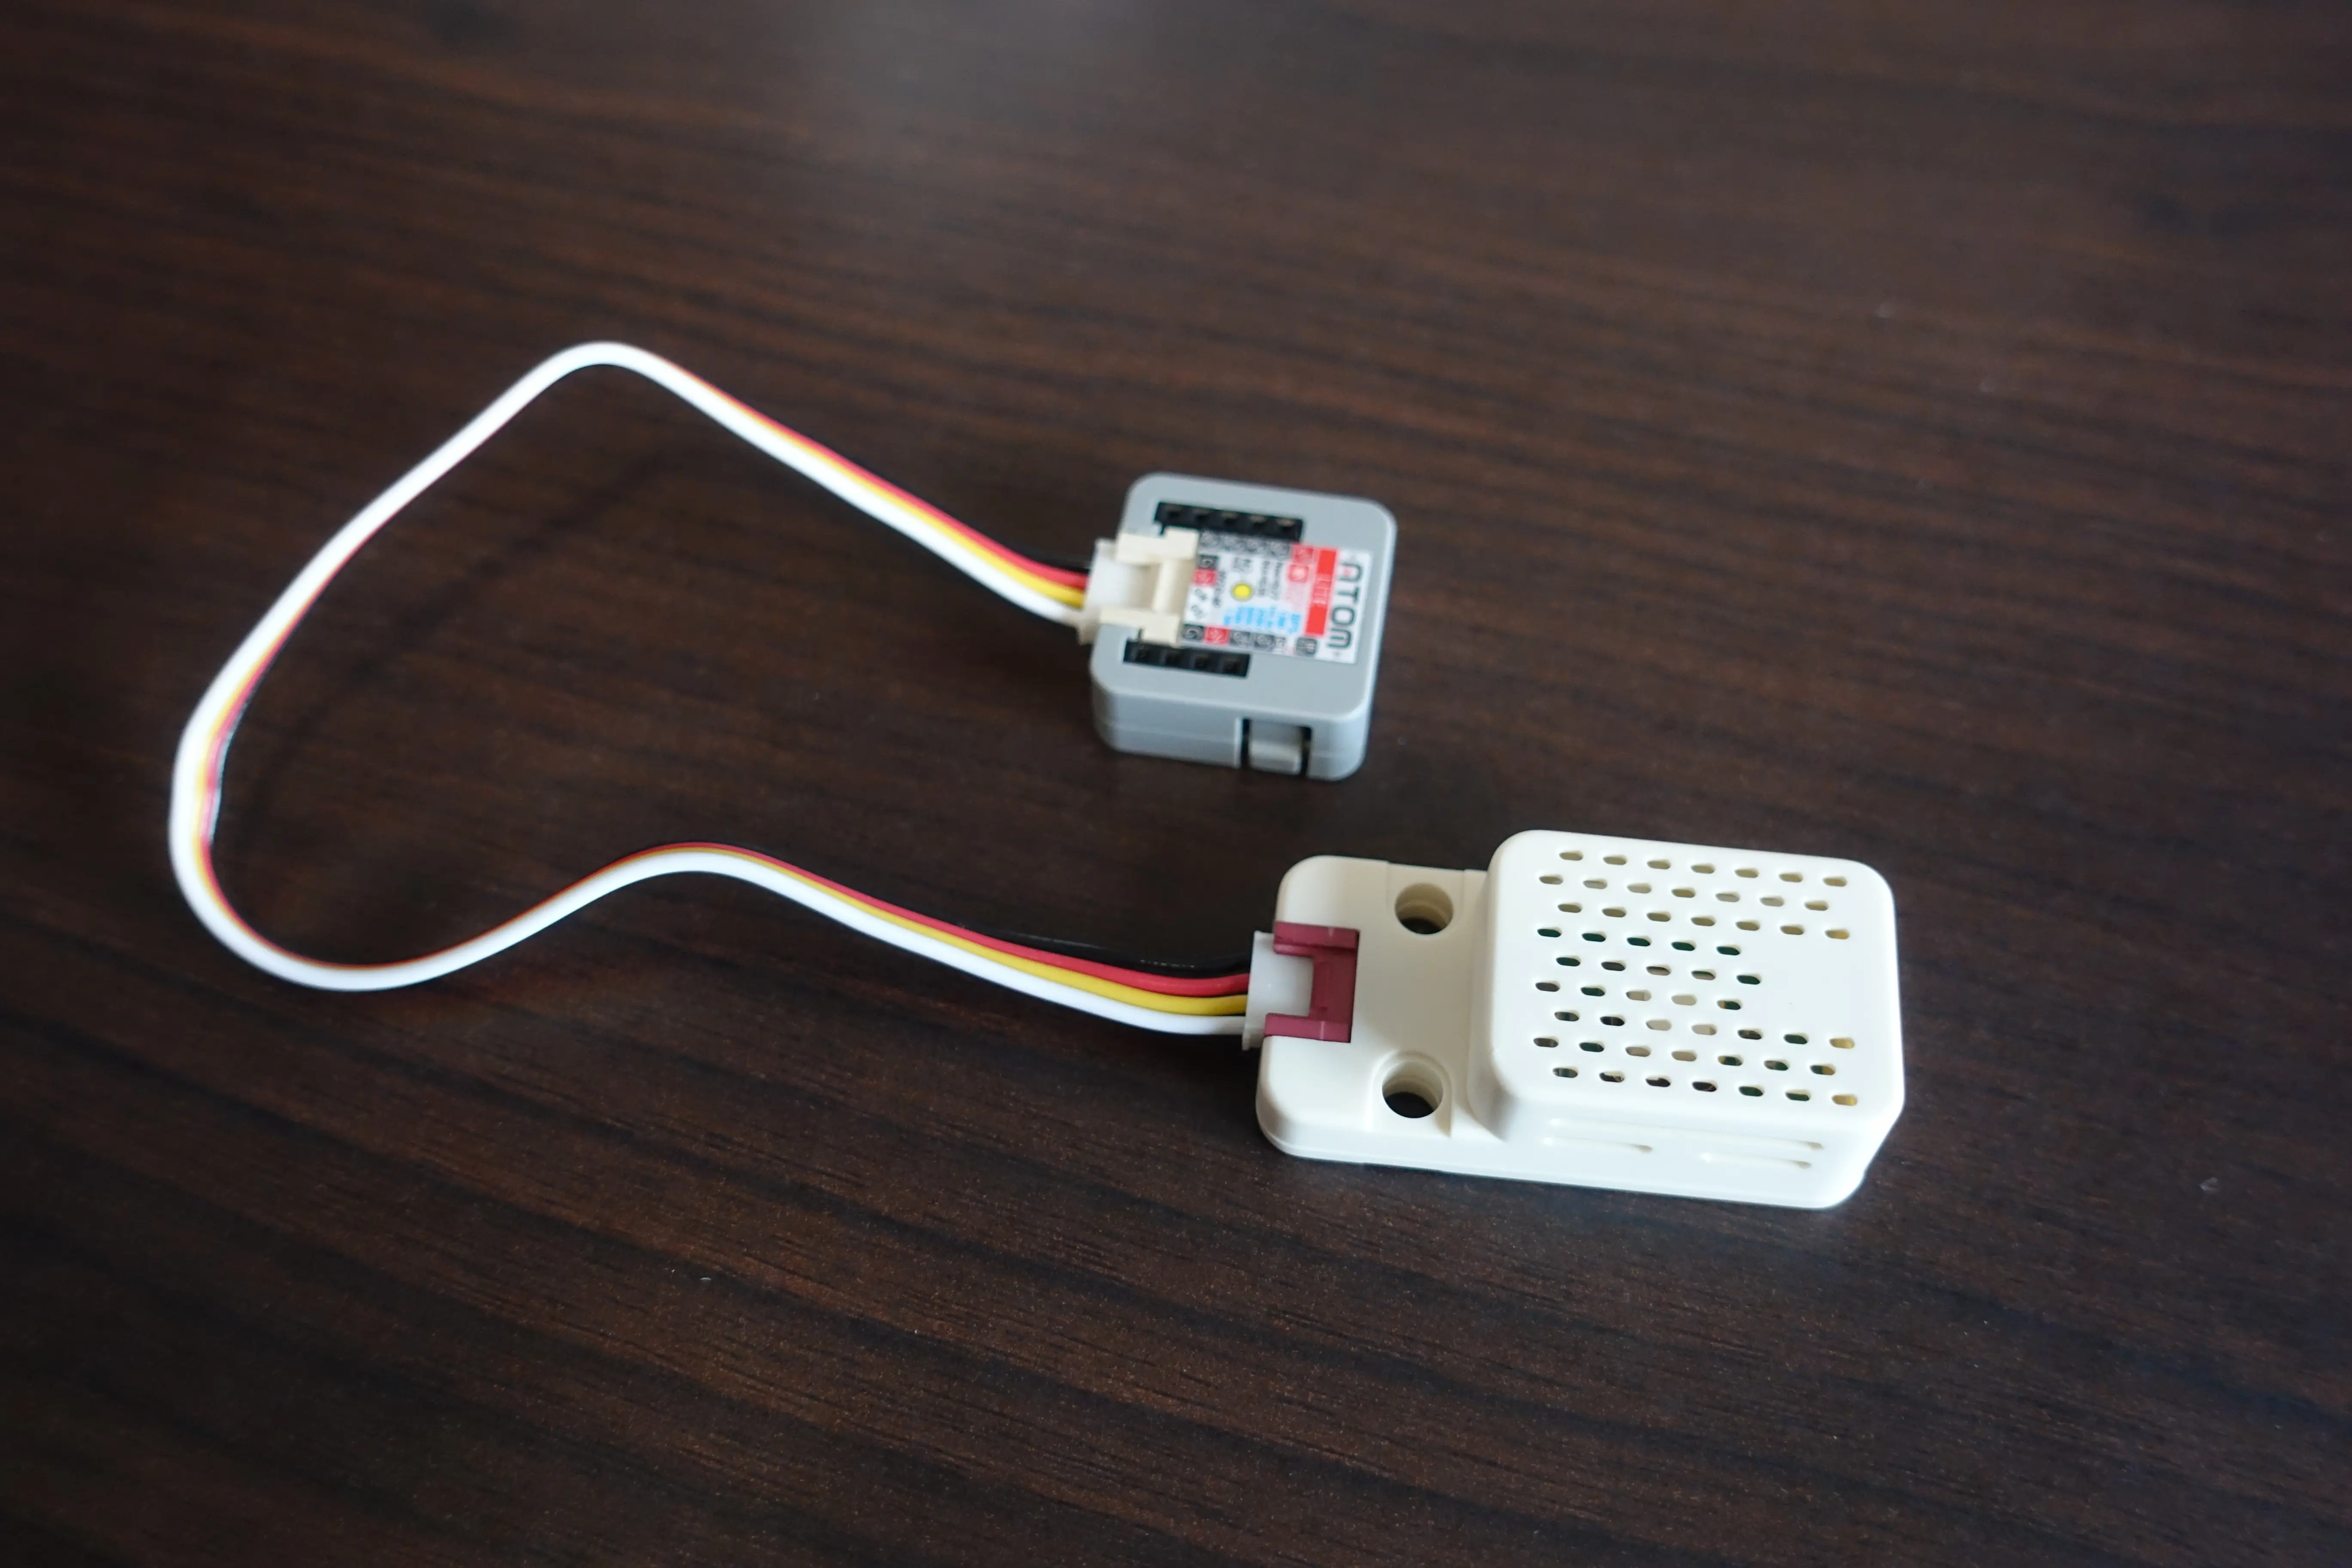
M5Stack have a sensor based on the Sensirion SD40, which is supplied in a nice case and comes with a UART cable to allow you to connect this to one of their ESP32 devices, all for around 30€.
I decided to order a couple of these, and simply attached each of them to a M5Stack Atom Lite ESP32, which I already had spread out throughout the house and which were currently being used solely as Bluetooth Proxies, to read information from my plant sensors and to send this to my Home Assistant instance.
Configuring with ESPHome
I put together a configuration in ESPHome using a template from M5Stack-ESPHome
This is fairly straight forward:
substitutions:
  name: "atom-lite-co2-01"
  friendly_name: "Atom Lite CO2 - 01"

esphome:
  name: ${name}
  friendly_name: ${friendly_name}

# This is specific to the M5Stack Atom Lite
esp32:
  board: m5stack-atom
  framework:
    type: esp-idf

# Enable logging
logger:

# Enable Home Assistant API
api:
  encryption:
    key: <the_esphome_randomly_generated_key>

# Enable Over the Air Updates
ota:
  - platform: esphome
    password: <the_esphome_randomly_generated_key>

# connect to the Wifi Network defined in the ESPHome secrets.yaml file
wifi:
  ssid: !secret wifi_ssid
  password: !secret wifi_password

# Enable Bluetooh Proxying
esp32_ble_tracker:
  scan_parameters:
    active: true

bluetooth_proxy:
  active: true

# The below provide a few text sensors in HomeAssistant to let me know the device's ESPHome Version, IP Address, and connected WIFI SSID

text_sensor:
  - platform: version
    hide_timestamp: true
    name: "${friendly_name} ESPHome Version"
    entity_category: diagnostic
  - platform: wifi_info
    ip_address:
      name: "${friendly_name} IP Address"
      icon: mdi:wifi
      entity_category: diagnostic
    ssid:
      name: "${friendly_name} Connected SSID"
      icon: mdi:wifi-strength-2
      entity_category: diagnostic

# The below lines are the CO2 sensor configuration

i2c: # these need to be changed to match your ESP32 device, in my case the Atom Lite
  sda: 26
  scl: 32

sensor:
  - platform: scd4x
    id: scd40
    automatic_self_calibration: False
    co2:
      name: "CO2"
      id: co2
      accuracy_decimals: 1
    temperature:
      name: "Temperature"
      id: temperature
      accuracy_decimals: 2
    humidity:
      name: "Humidity"
      id: humidity
      accuracy_decimals: 1
    address: 0x62
    update_interval: 10s
  - platform: template
    name: "VPD"
    icon: "mdi:gauge"
    id: gr2_ace_vpd
    lambda: |-
          return (((100 - id(humidity).state) / 100) * (0.6108 * 2.718281828459045 * (17.27 * ((id(temperature).state)) / (((id(temperature).state)) + 237.3))));
    update_interval: 10s
    unit_of_measurement: kPa
    accuracy_decimals: 2
    filters:
      - filter_out: nan
  - platform: uptime
    name: Uptime
Sensor accuracy
The average CO2 ppm in the atmosphere is 424.43 ppm, as of the 28th November 2024.1
This makes it easy to check how accurate the sensor is - just place it outside for a bit, powered by a powerbank if need be (it just needs to be able to connect to your WiFi), leave it for 5 minutes, and check the measurement.
The sensor is advertised as having an accuracy of ±(50 ppm + 5% of reading).
I placed it outside, on my office’s window sill, and left it for 10 minutes:
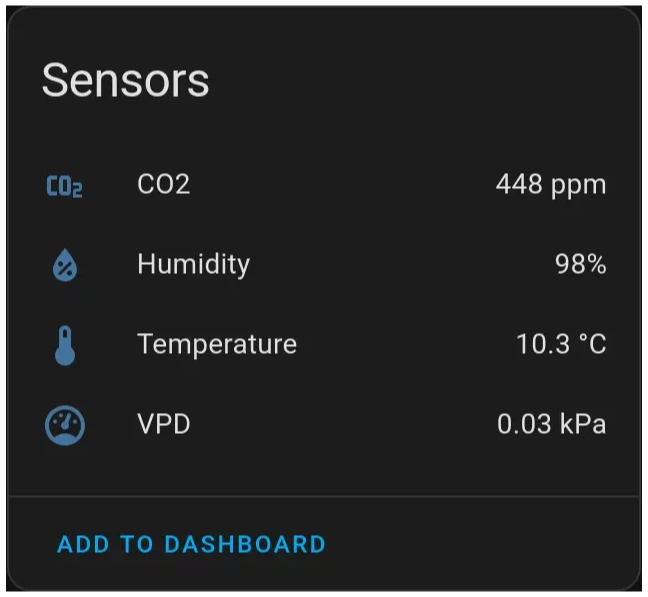
The 448 ppm measurement is close enough to the outside average, and as such I didn’t bother with doing any sort of calibration.
Avoiding an eyesore
The sensor will work as is, but if you place somewhere it can be seen, it can look quite messy.
To make it look a bit tidier, you have a couple of options. A bit of velcro allows you to stick the ESP32 and the sensor together, rather than having them just dangling. Another option is to buy a small plastic box and adapt it to make it work. Or even a lego box. You can always 3D print something to have a perfect fit, but that’s a rabbit hole that I have avoided (so far!).
Finishing up
Next, just place the device in whatever room you want to monitor - in my case, I placed in my home office, as I mostly work remotely and can spend a lot of time in it. I created a couple of automations, based on the thresholds mentioned above (a notification when it goes over 1000 ppm, and another one if it goes over 2000 ppm) and that’s it! With the CO2 sensor in place, I can now get a notification on my phone (or speaker) if there’s ever a need to open a window to ventilate the house.
Footnotes
-
as measured in Hawai by the National Oceanic and Atmospheric Administration https://gml.noaa.gov/ccgg/trends/monthly.html ↩