NFC Jukebox
This note is marked as a draft. It is a work in progress, and may potentially contain incomplete parts or missing sections.
The original idea
Years ago, when I first started using Home Assistant, I came upon a post where someone mentioned using NFC cards as a Jukebox of sorts, allowing kids to easily pick a show to play on the TV. I thought this was absolutely brilliant, and the idea stuck in my head.
A few years later, I now have a daughter who’s almost 2, and who occasionally demands we put on a specific TV show. She will always want to play with the remote as well, but hasn’t figured how to work it out yet. This gave me the perfect excuse to finally put this jukebox together.
The NFC bit
To read the cards, I bought a M5Stack RFID sensor, plugged it into an Atom Lite ESP32, and flashed it with ESPHome. Someone has already done the hard work, so it’s easy to find a working config and to quickly adapt it to my needs. I put together a configuration using a template from M5Stack-ESPHome. The below NFC/RFID related bit has been updated on 24/03/2025, following changes in the upstream template.
I did a small change in the code, based on the existing code of the Adonno Tag Reader which I use as part of my alarm system. This is what the final code looks like:
substitutions:
  name: m5stack-rfid-1
  friendly_name: M5Stack RFID Tag Reader 1

esphome:
  name: ${name}
  friendly_name: ${friendly_name}

esp32:
  board: m5stack-atom
  framework:
    type: esp-idf

# Enable logging
logger:

# Enable Home Assistant API
api:
  encryption:
    key: "randomly_generated_key"

ota:
  - platform: esphome
    password: !secret ota_password

wifi:
  ssid: !secret wifi_ssid
  password: !secret wifi_password

  # Enable fallback hotspot (captive portal) in case wifi connection fails
  ap:
    ssid: "M5Stack-Rfid-1 Fallback Hotspot"
    password: "randomly_generated_pw"

captive_portal:

# RFID Reader Sensor
i2c:
  sda: GPIO26
  scl: GPIO32

rc522_i2c:
  address: 0x28
  on_tag:
    then:
      - homeassistant.tag_scanned: !lambda 'return x;'

text_sensor:
  - platform: version
    hide_timestamp: true
    name: "${friendly_name} ESPHome Version"
    entity_category: diagnostic
  - platform: wifi_info
    ip_address:
      name: "${friendly_name} IP Address"
      icon: mdi:wifi
      entity_category: diagnostic
    ssid:
      name: "${friendly_name} Connected SSID"
      icon: mdi:wifi-strength-2
      entity_category: diagnostic
As for the cards themselves, I just bought a pack of plain white NTAG215 NFC cards on AliExpress.
The jukebox functionality
Scanning a card works as a trigger in Home Assistant, but now I needed to create the automations. I have an Nvidia Shield Pro (2019) connected to my TV and, thankfully, that gave me multiple options.
This part is still a work in progress. I have it working but I am having some reliability issues I am working on. I will update the section when I have it working reliably.
Disney+
For Disney+, googling the title will give you a watch now button - clicking on it will retrieve a URL which you can then use to play the show.
draft To launch the video I …
Copied from the HASS Forums.
alias: Play Bluey On Living Room TV
sequence:
  - service: remote.turn_on
    metadata: {}
    data: {}
    target:
      device_id: cede71f7dea1a5a8a758f90688dfe71e
  - service: media_player.play_media
    data:
      media_content_id: "291097"
      media_content_type: app
      extra:
        content_id: 66a29c40-2a55-403d-825c-b688a5891b62
        media_type: episode
    target:
      device_id: cede71f7dea1a5a8a758f90688dfe71e
  - delay:
      hours: 0
      minutes: 0
      seconds: 25
      milliseconds: 0
  - condition: not
    conditions:
      - condition: state
        state: playing
        entity_id: media_player.living_room_roku
  - service: remote.send_command
    data:
      command: select
    target:
      device_id: cede71f7dea1a5a8a758f90688dfe71e
mode: single
icon: mdi:play-pause
Plex
For a few things she’d watch from YouTube, I decided to download the videos instead and just use Plex to play them. This avoids adverts and, more importantly, prevents YouTube’s algorithm from serving her with content that might be less suitable.
draft To launch a specific video from Plex, I …
entity_id: media_player.plex_for_shield
media_content_id: '{ "library_name": "Cartoons", "show_name": "Ms Rachel - Songs for Littles", "shuffle": "1" }
media_content_type: EPSISODE
Avoiding too much screen time
So far I’ve been lucky enough that my daughter never got glued to screens. She’ll watch for a bit, but then decides to do and play instead of just sitting in front of the TV.
We try to incentivise this as much as we can, and as such we try to limit the time she spends watching TV.
draft While there’s a few different ways to track this, I’ve ended up…
I set up actionable notifications to both myself and my partner, allowing us to stop or extend playback time as we deem fit.
Making it a bit more kid friendly
The box
Now that I had a working reader, I still needed a way to prevent my daughter from disconnecting the hardware, or worse, destroying it.
I looked at a couple of different options online, and decided to pick up a set of Lego boxes from IKEA. The small ones are more than enough to fit the unit, and they have enough space for a bank card sized NFC tag to sit on top.
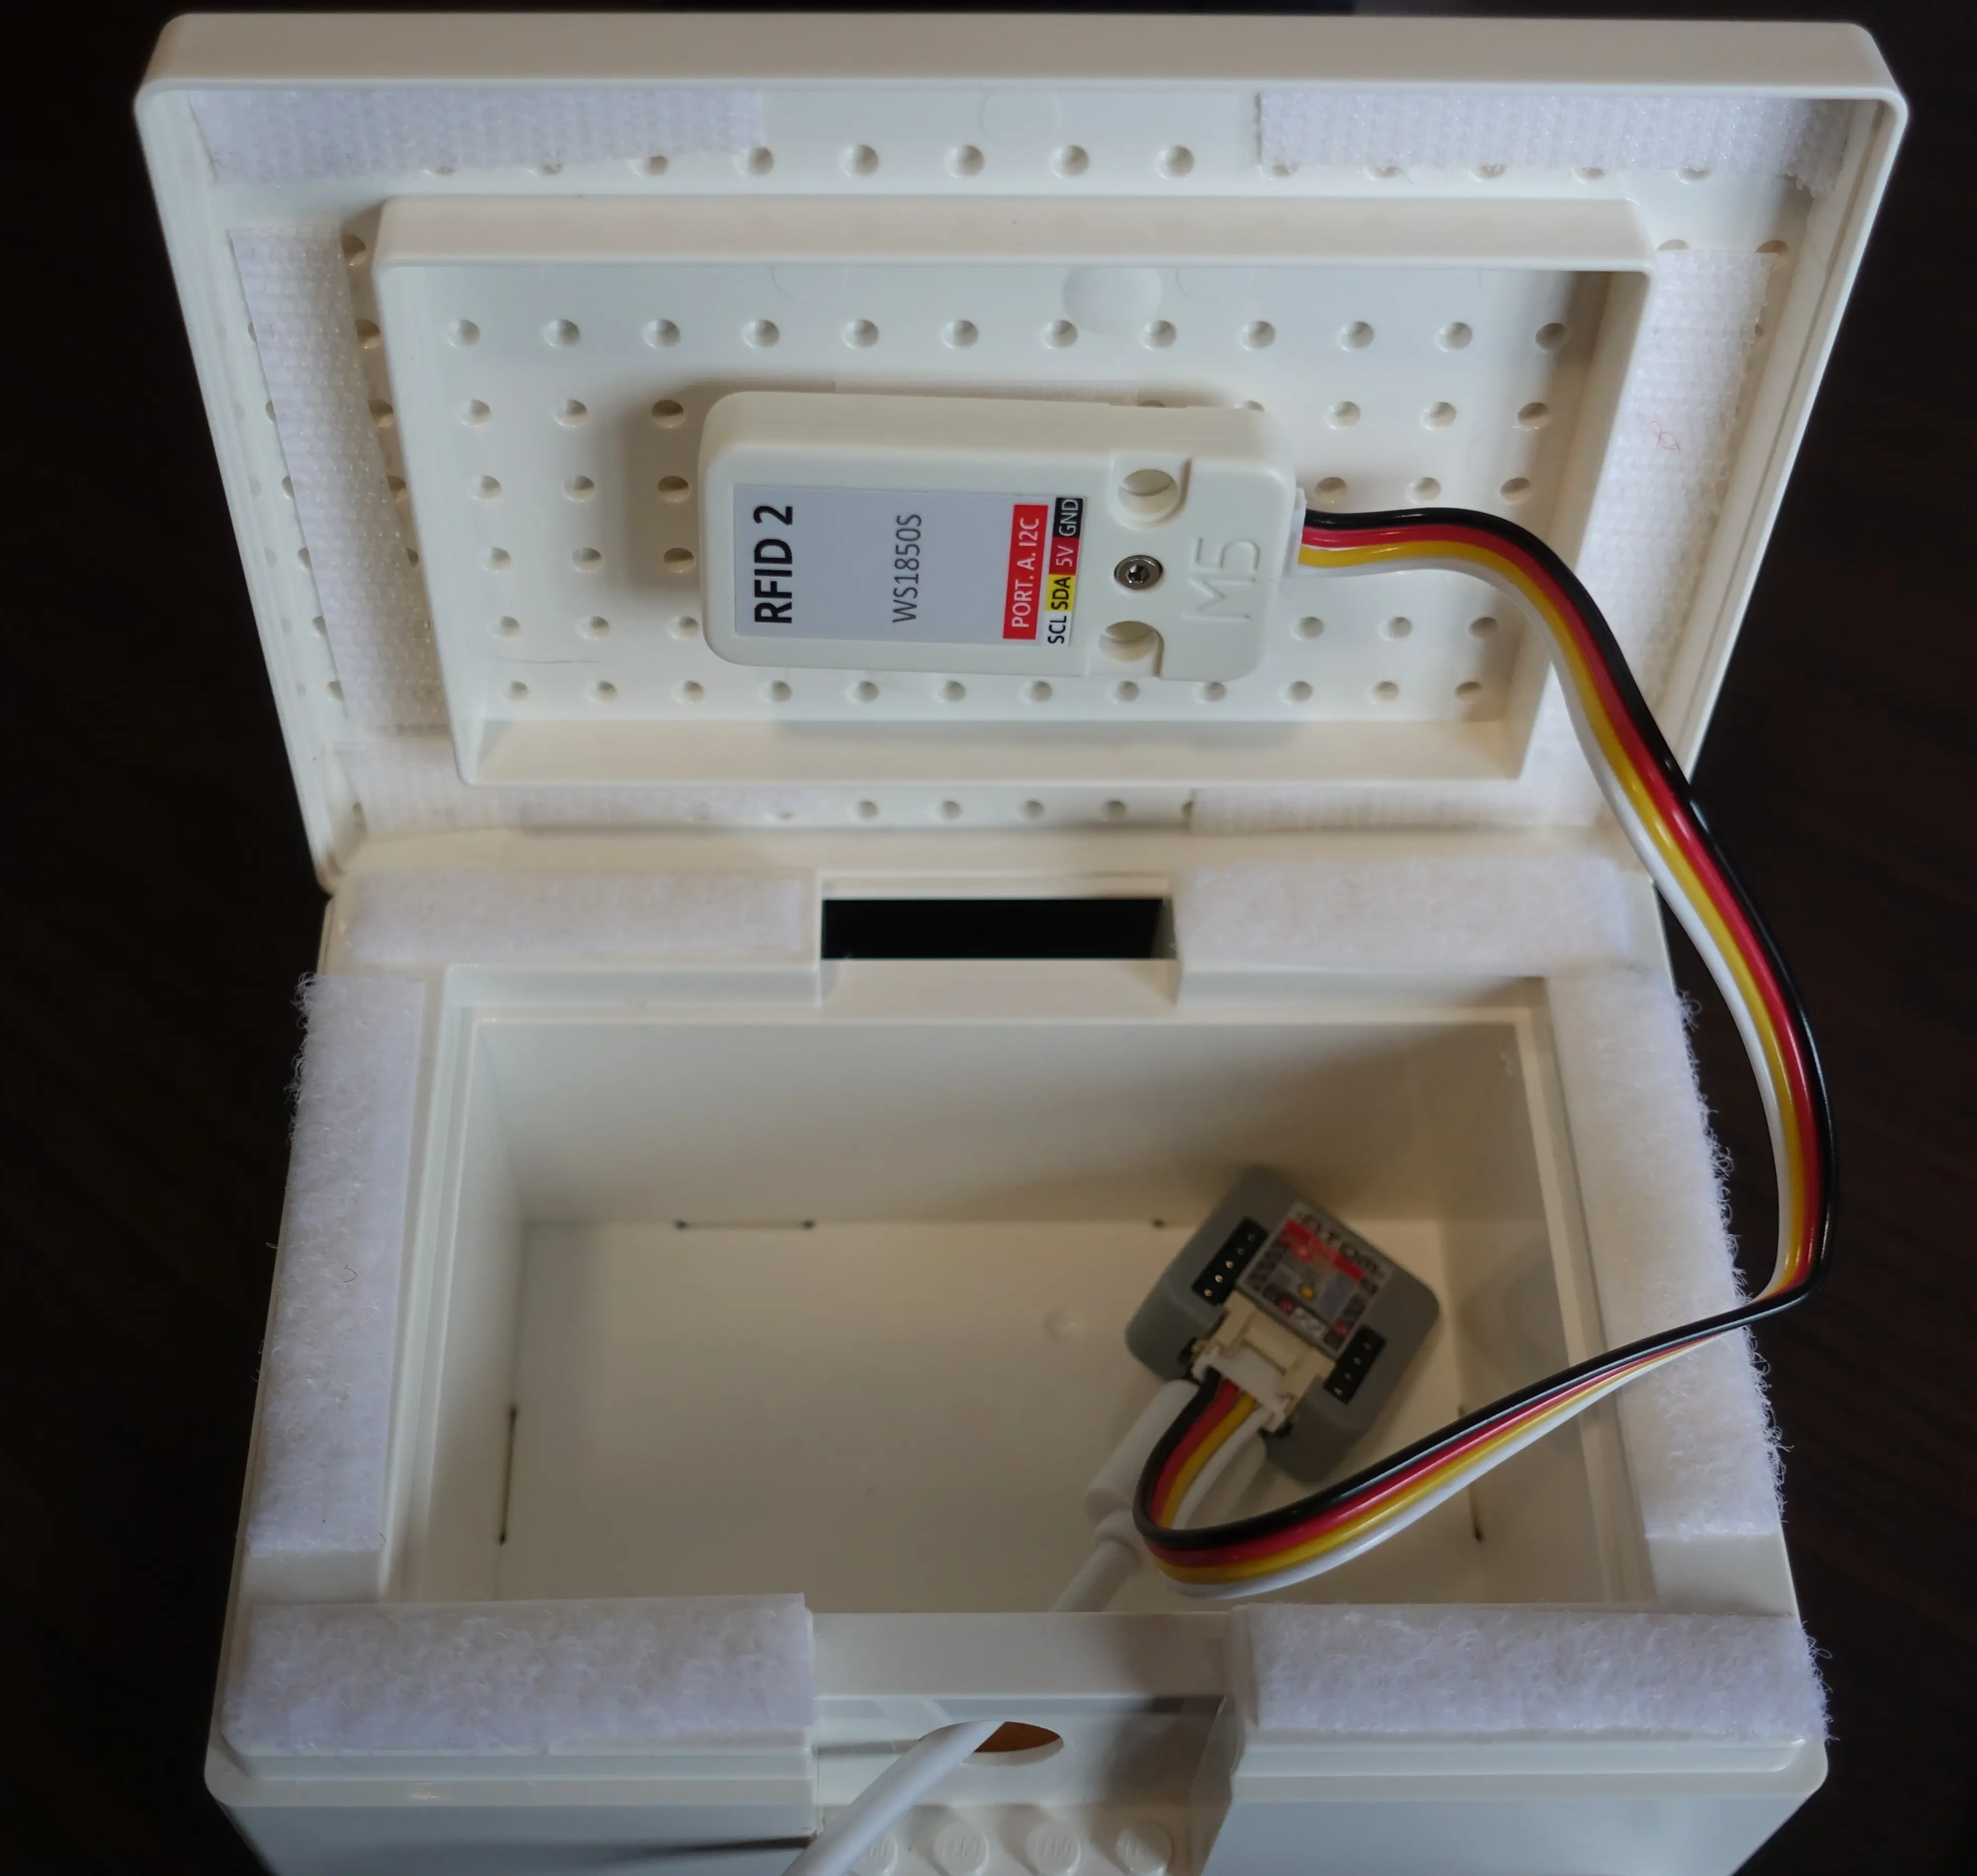
I drilled a hole just large enough to pass the USB C cable through, connected it to the ESP32, and in the end decided to stick the RFID reader to the bottom side of the lid, using simply a bit of double sided tape.
As the lid isn’t actually locked in place, I used velcro tape along the edges of the case just to ensure it stays closed, while still allowing for it to be reopened, if it’s ever needed.
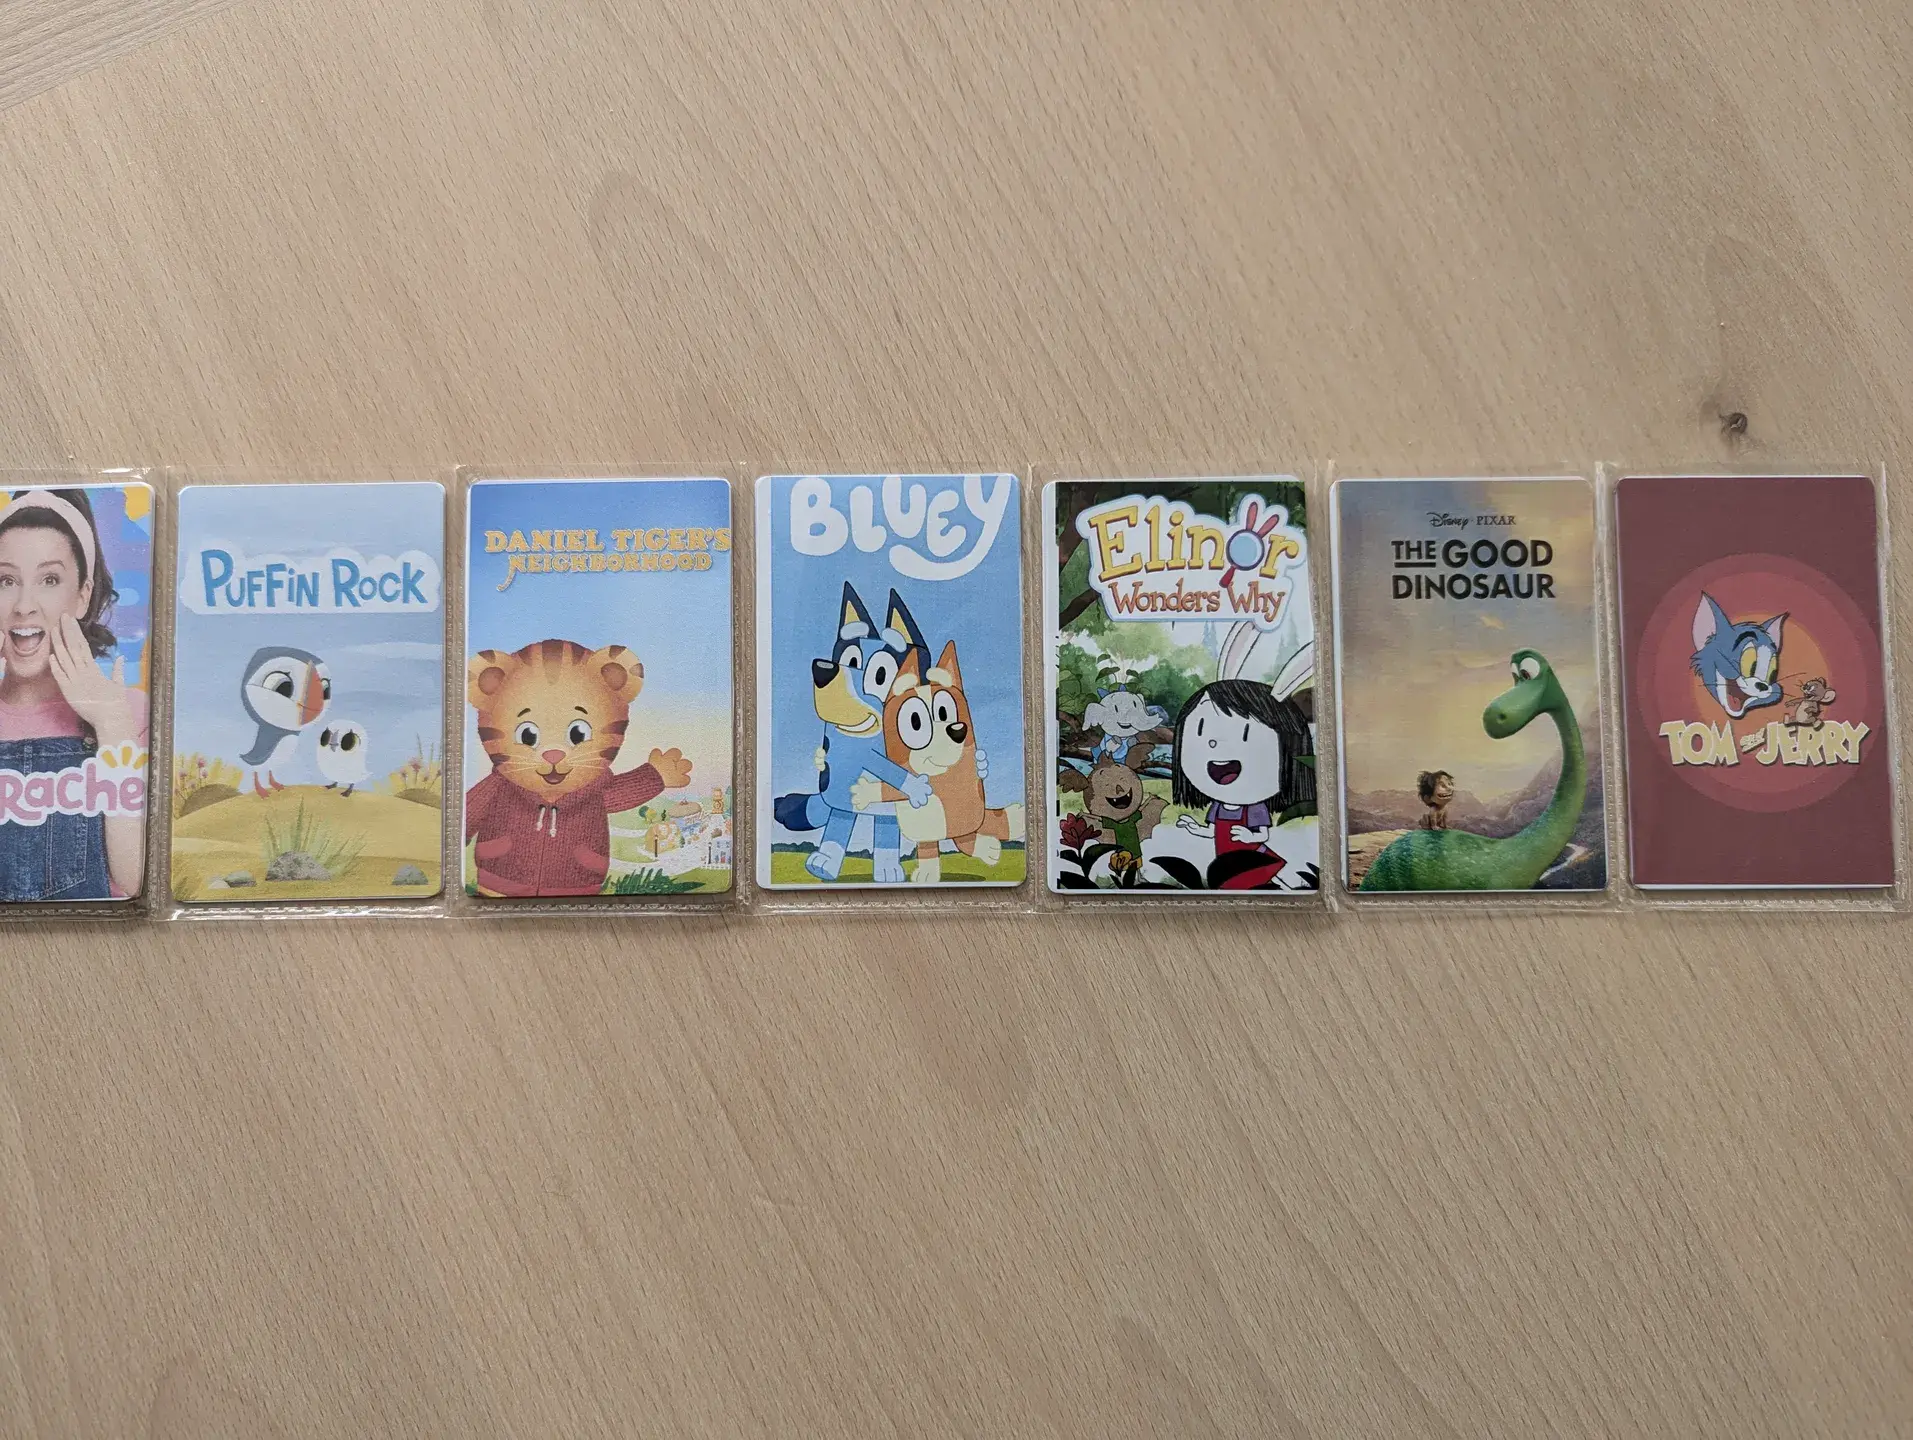
The cards
The NFC cards work, but I still needed to make them usable by my daughter. The easiest option, in my opinion, is to use an image. Most cards can be printed on, provided you have a compatible printer and an adapter to fit the cards. Unfortunately, I had neither, and I didn’t really want to waste space in my home with a printer that isn’t going to get any use.
These NFC cards are typically the size of a standard bank card (so as to fit in a wallet), meaning they measure 8.56x5.398 cm.
Printing the labels
Getting them printed proved a bit of a challenge. I could not really find any place that would do a single print of a card or even labels. In the end, after spending quite a bit of time searching, I ended up ordering some AVERY Zweckform P3461 Labels (85 x 55 mm). These were literally the only labels in this size I could find!
When it came to printing the labels, bizarrely, the .eu Avery site printed on the packaging for the labels redirected me to their .uk page. Neither the .uk nor the .com sites actually have the P3461 label templates on their online designer. I ended up having to use their german site in order to be able to use the templates. Just input the P3461 product code on the box and press start, it’ll take you to the online designer. You can then change the language in the top right corner. It’ll allow you to design the individual labels and then save a .pdf to print on the labels themselves. It took a bit of trial and error but eventually I managed to get the print to align properly with the labels.
The result
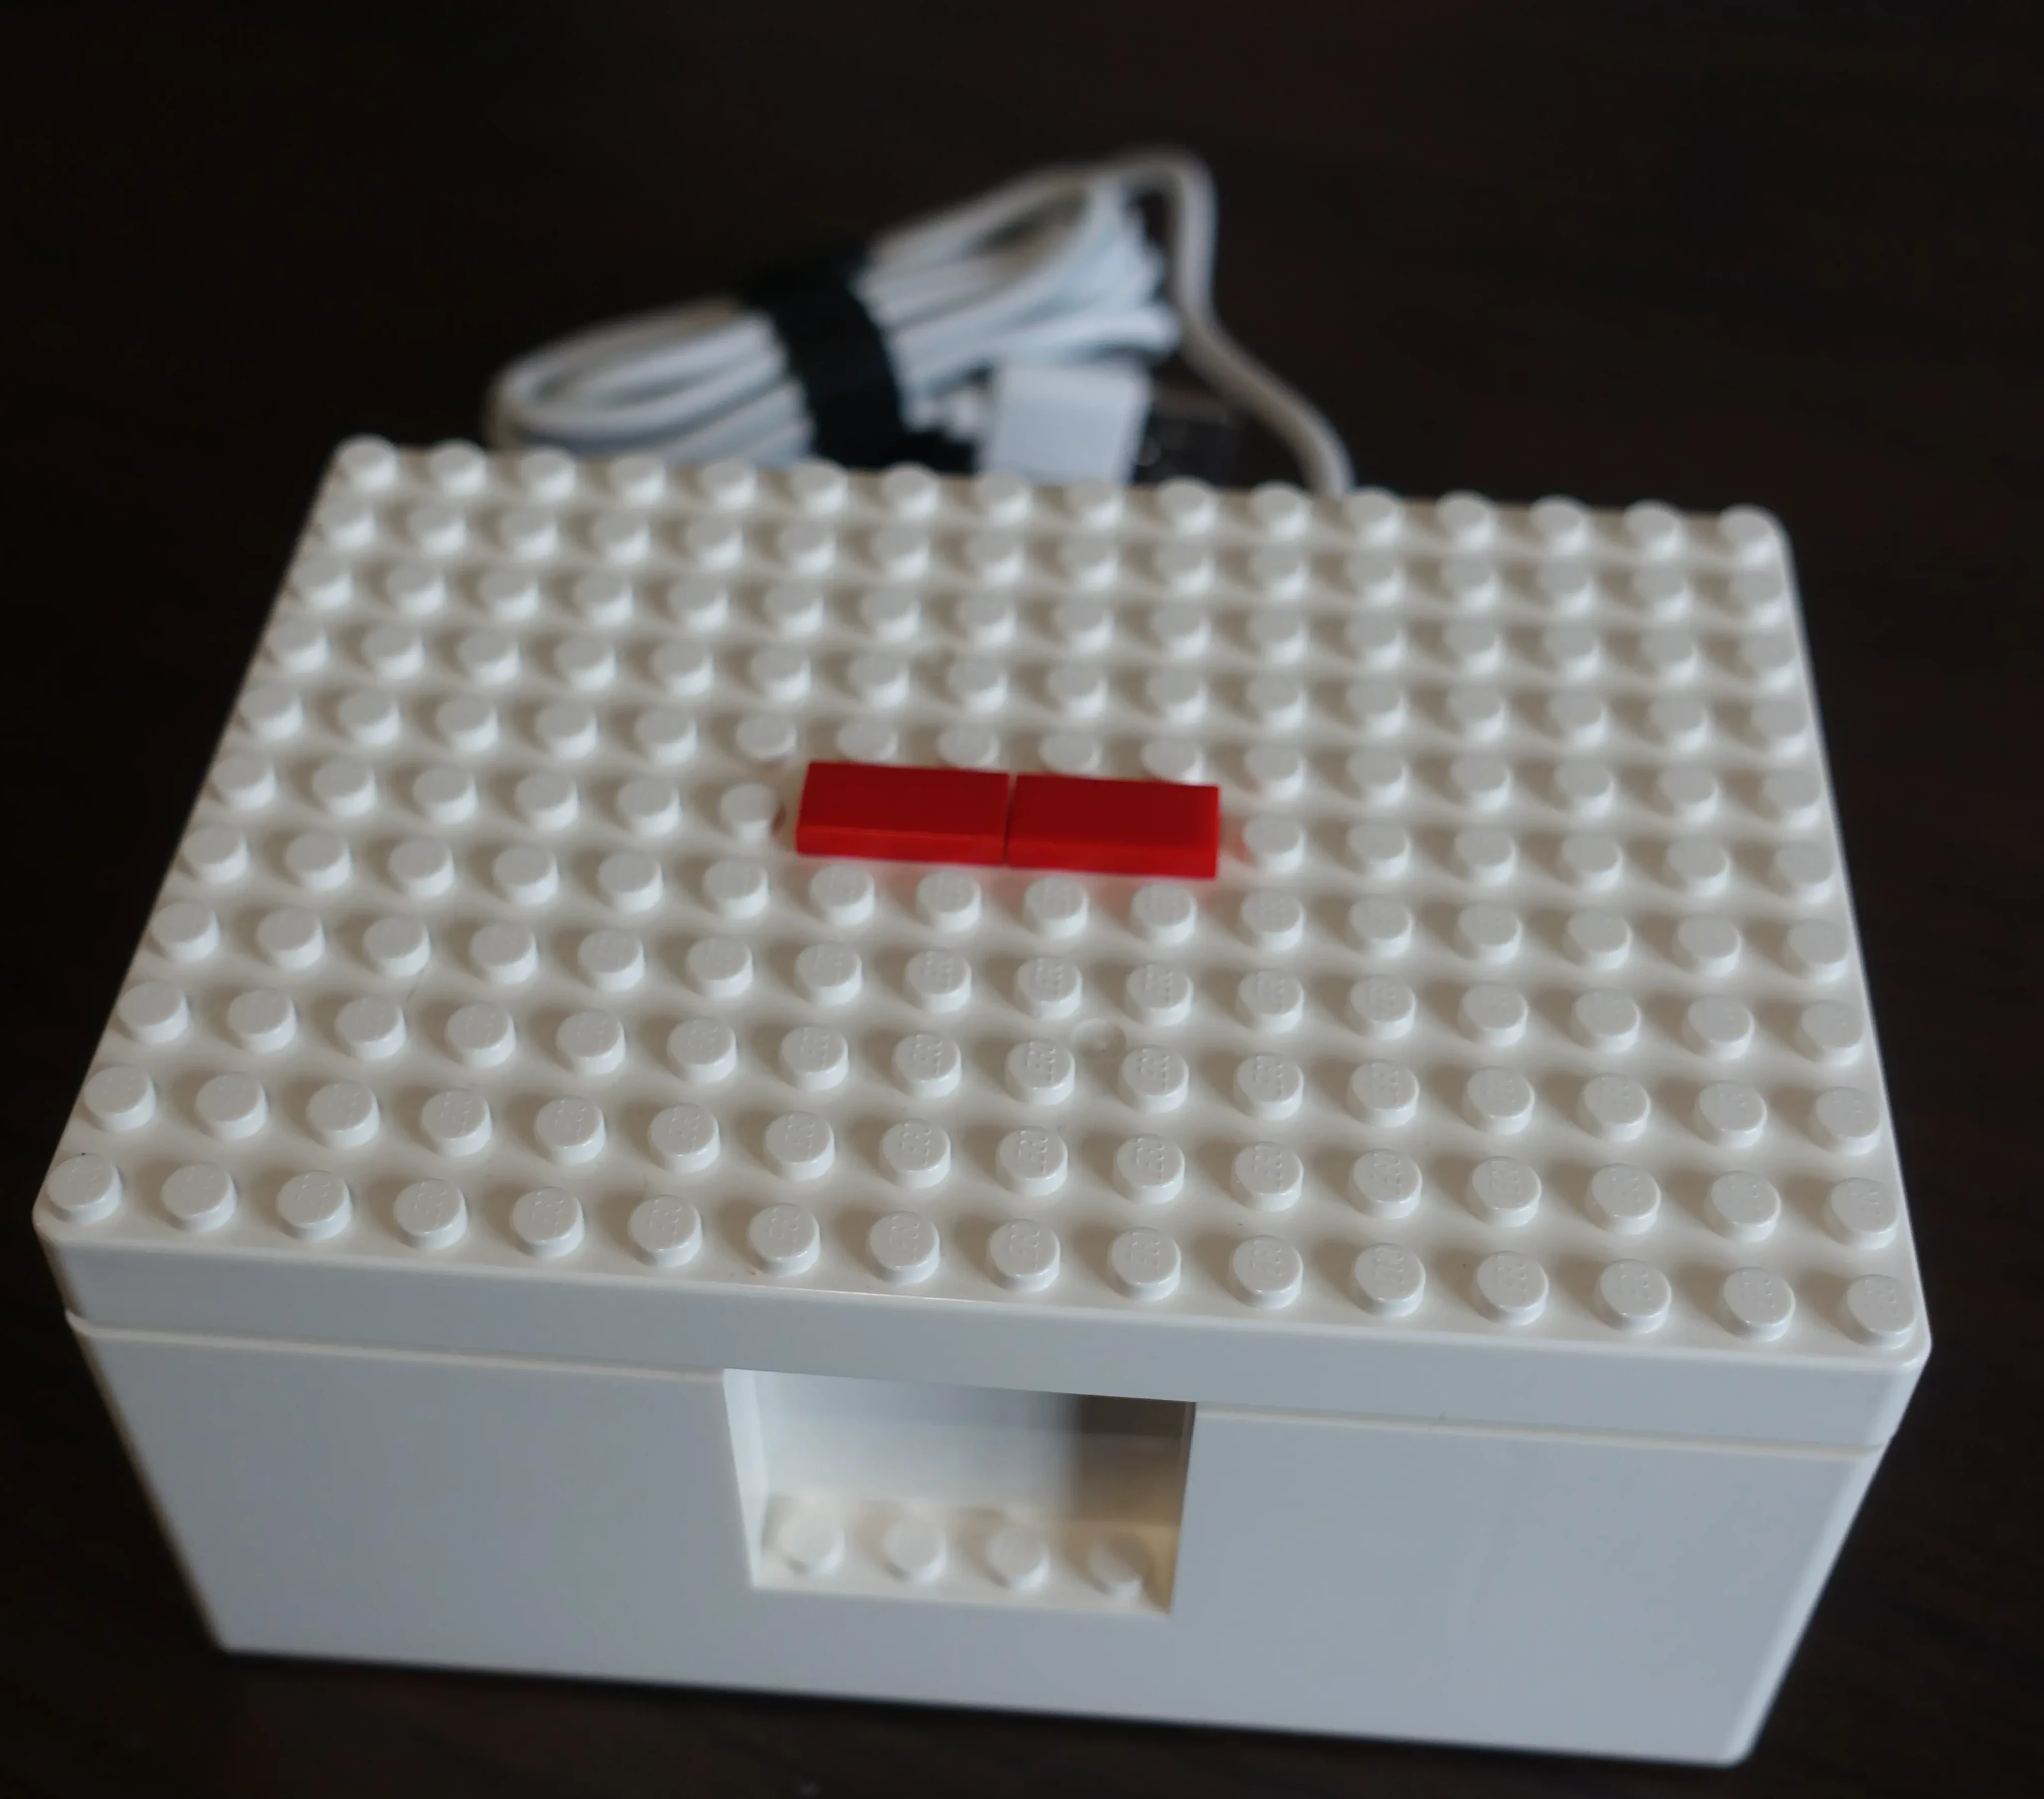
I added a couple of small Lego flat pieces on the center, ie above the actual RFID reader unit. The idea is to have it serve as a sort of visual aid to help my daughter. The box is much larger than necessary, but without access to a 3D Printer or similar, this at least gives it a “finished” look, and it doesn’t stand out in the living room.